First month for free!
Get started
Published 1/7/2026
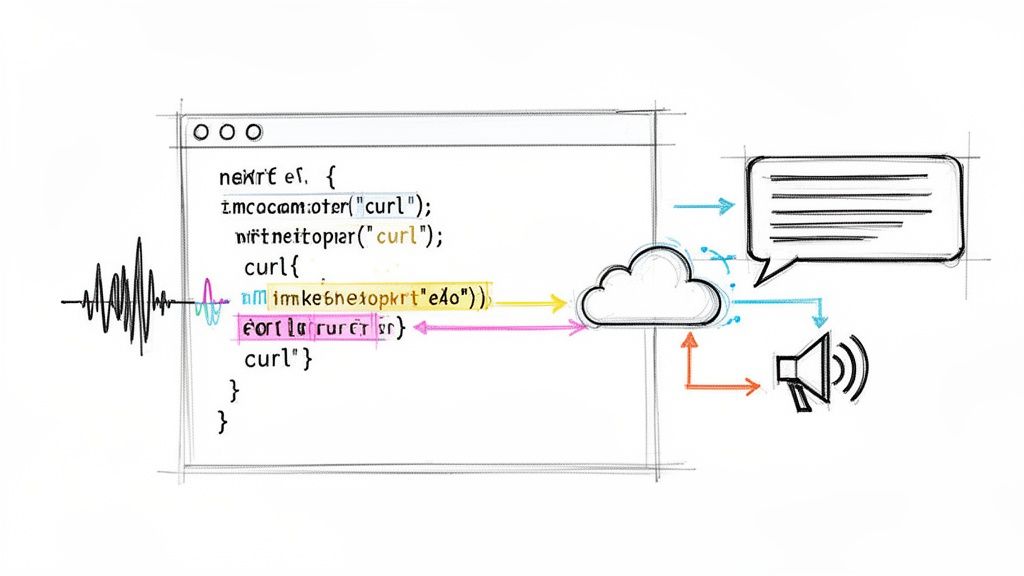
Using an API with curl is often the quickest, most direct way to see how a web service really works, right from your terminal. It’s the perfect tool for testing, debugging, and even scripting API calls before you commit to writing a single line of code in your main application. Think of it as your go-to utility for a no-frills, straight-to-the-point conversation with any HTTP-based API.
Before you get tangled up in SDKs or language-specific libraries, you need a simple, reliable way to check if an API is behaving as you expect. That's exactly where cURL (Client URL) comes in. It's a powerful command-line tool that comes pre-installed on just about every macOS and Linux machine, so it's ready to go when you are.
The real beauty of cURL is its raw simplicity. With just one command, you can build and send a complete HTTP request, managing everything from authentication headers to multipart file uploads. This immediate feedback makes it indispensable for those first steps of exploring and debugging a new API.
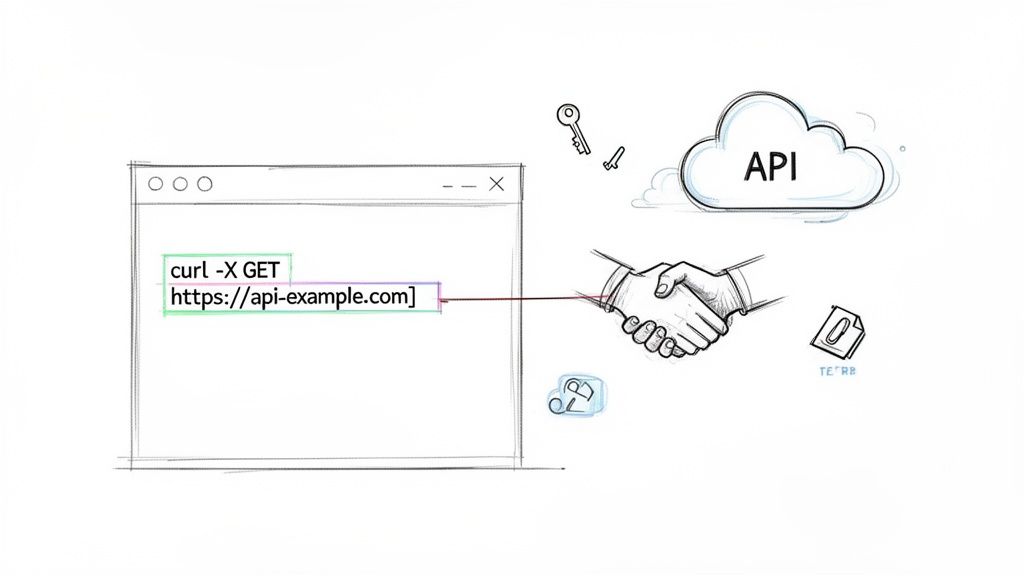
I like to think of a curl command as the first handshake with any new API. It’s how you confirm your credentials are correct, the endpoint is live, and you understand the data format the API expects you to send and what it will send back. This quick validation cycle can save you hours of frustration down the road.
Its popularity is no fluke; developers lean on it constantly.
According to the 2025 curl user survey, a staggering 85.7% of developers reported using the command-line tool curl for daily API testing and data transfers. This really cements its role as the industry standard for interacting with REST endpoints. You can dig into the specifics in the full cURL survey results.
Getting comfortable with a few key curl commands is a skill that pays dividends. In this guide, we'll be using curl to interact directly with the Lemonfox.ai API. We'll walk through how to:

Before you can fire off your first API request with cURL, there are two things you absolutely need: your unique API key and the correct API endpoint. Let's walk through getting those set up.
The first move is to sign up for a Lemonfox.ai account. The great part is that you're immediately given 30 free hours of transcription time, which is more than enough to play around and get comfortable with the API.
Once you're logged into your dashboard, head over to the API section. This is where your secret API key lives. Treat this key like a password—it’s your application's unique identifier for every request, so it needs to be kept confidential.
Whatever you do, don't hardcode your API key directly into your scripts or source code. It's a classic mistake that can lead to major security headaches, especially if that code ever ends up in a public repository.
The professional way to handle it is by storing the key as an environment variable.
For instance, if you're on macOS or Linux, you can just pop open your terminal and run this:
export LEMONFOX_API_KEY='your_super_secret_api_key'
Doing this keeps your key separate from your code. It not only makes your cURL commands cleaner but, more importantly, it keeps your credentials secure. You can then just use $LEMONFOX_API_KEY in your scripts to call it.
Lemonfox offers two separate endpoints, and picking the right one is important for both performance and data privacy. It all comes down to where you and your users are located.
https://api.lemonfox.aihttps://api.eu.lemonfox.aiPro Tip: Making the right choice here from the beginning saves you trouble down the line. Functionally, the endpoints are identical. But using the one geographically closer to your users minimizes network lag and helps you meet data residency laws without any extra effort.
Alright, you've got your API key and know which endpoint to hit. Now for the fun part: making your first API call. Getting a transcription from the Lemonfox Speech-to-Text API with cURL is actually pretty straightforward. We'll walk through the two most common ways to send your audio: as a local file upload or by streaming raw audio data directly.
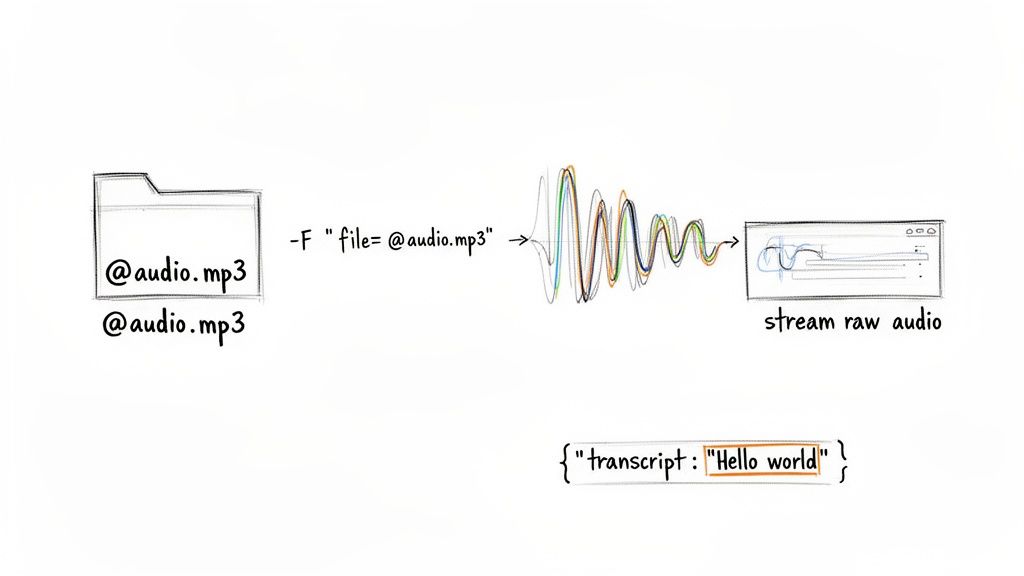
The simplest method, by far, is sending an audio file you already have on your computer. If you have a pre-recorded .mp3 or .wav file, a multipart/form-data request is your best bet. cURL handles this perfectly with the -F flag.
Let's look at a complete command for uploading a file named meeting-audio.mp3 to the global endpoint. Just copy this into your terminal and swap in your API key.
curl -X POST
https://api.lemonfox.ai/v1/audio/transcriptions
-H "Authorization: Bearer $LEMONFOX_API_KEY"
-F '[email protected]'
So, what's happening here?
-X POST tells the server we're sending data.-H flag passes your secret API key for authentication.-F '[email protected]' is the key part. It attaches your local audio file. That little @ symbol is crucial—it tells cURL to send the file's content, not just its name as a text string.What if you don't have a file saved? Maybe you're capturing audio from a microphone and need to transcribe it on the fly. In that case, you can stream the raw audio bytes directly to the API endpoint.
This approach uses the --data-binary flag instead.
curl -X POST
https://api.lemonfox.ai/v1/audio/transcriptions
-H "Authorization: Bearer $LEMONFOX_API_KEY"
-H "Content-Type: audio/mpeg"
--data-binary @- < my_audio_stream.mp3
In this command, --data-binary @- instructs cURL to read data from standard input. The < my_audio_stream.mp3 part then pipes the file's content into that standard input. We also have to be explicit and set the Content-Type header so the API knows what kind of audio it's receiving.
To help you get familiar with these commands, here’s a quick reference table breaking down the essential flags for our Speech-to-Text API calls.
| cURL Flag | Purpose | Example Usage |
|---|---|---|
-X POST |
Specifies the request method as POST, used for sending data. | -X POST |
-H |
Sets a request header, like for authentication or content type. | -H "Authorization: Bearer $API_KEY" |
-F |
Sends data as multipart/form-data, ideal for file uploads. |
-F '[email protected]' |
--data-binary |
Sends raw binary data, useful for streaming audio. | --data-binary @- |
Understanding these few flags is all you really need to get started with transcribing audio through the command line.
A successful API call returns a JSON object. The most important key is
"transcript", which holds the full text. You might also get other useful data like speaker labels if the API detects different voices.
While cURL is a fantastic tool for direct API interaction, it's also worth exploring the wider ecosystem. Looking into the best AI transcription software options can give you a better sense of what's possible with different platforms and UIs.
Once you send a request, you'll get a response back. Here's what a successful one looks like:
{ "transcript": "Hello world, this is a test of the Lemonfox transcription API.", "language": "en", "words": [ { "word": "Hello", "start": 0.1, "end": 0.4 }, { "word": "world,", "start": 0.4, "end": 0.8 } ] }
This structured output is easy to parse with just about any programming language, making it simple to pull the transcription results directly into your application.
Now, let's flip the script and move from turning speech into text to creating audio from scratch. This is where the Lemonfox Text-to-Speech (TTS) API comes in, and it's just as straightforward. Instead of uploading an audio file, you'll send a JSON payload with the text you want to bring to life.
The key difference here is the response. You won't get a neat JSON object back; the API streams the raw audio data directly to you. That means you have to tell cURL exactly what to do with that incoming stream—namely, save it as a file.
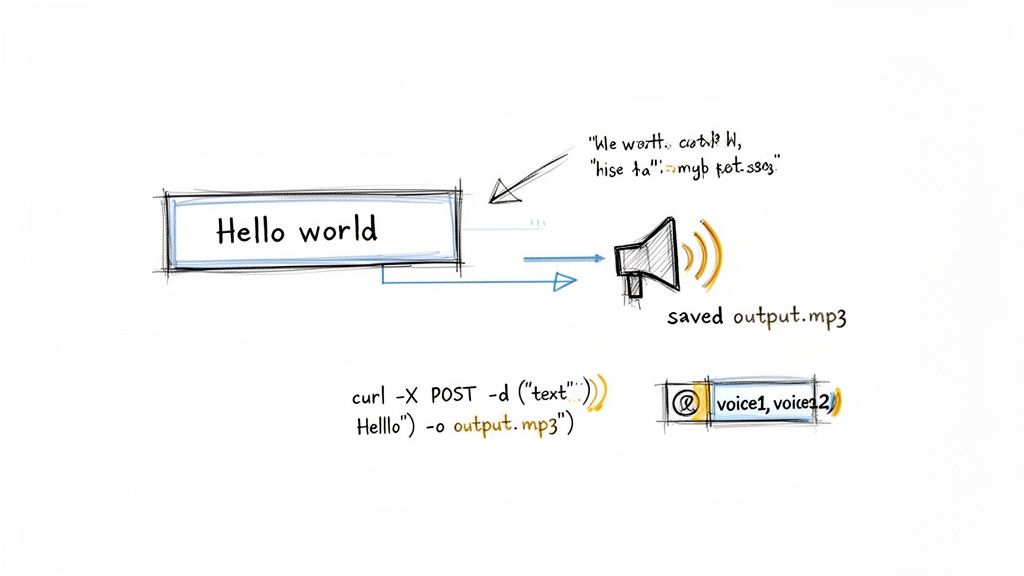
Let's build a real-world example. The command below takes the sentence "Hello, this is a test of the Lemonfox TTS API," sends it to the global API endpoint, and saves the resulting audio as a file named output.mp3.
curl -X POST
https://api.lemonfox.ai/v1/audio/speech
-H "Authorization: Bearer $LEMONFOX_API_KEY"
-H "Content-Type: application/json"
-d '{"text": "Hello, this is a test of the Lemonfox TTS API."}'
-o output.mp3
A quick look at what’s happening in this command:
-d flag contains our data payload. It’s a simple JSON object where the "text" key holds the string we want to convert.output.mp3.Run that command, and you'll find a playable MP3 file waiting for you in your current directory. It’s one of the most satisfying parts of working with a TTS API—getting an immediate, tangible result.
Of course, you’re not stuck with the default settings. You can easily customize the output by adding more keys to your JSON payload. Want to try a different voice? Just include the "voice" parameter.
For example, to use the "echo" voice model, your data payload would look like this:
'{"text": "Your text here.", "voice": "echo"}'
This makes it incredibly easy to experiment. You can quickly cycle through different voices, languages, and settings just by tweaking the JSON string in your cURL command. It’s a great way to prototype and find the perfect audio output for your needs without writing a single line of application code.
Sooner or later, every developer runs into an API request that doesn't quite work as expected. It's just part of the process. Knowing how to read the signs the API sends back is what separates a frustrating afternoon from a quick fix. When you're working with our API with curl, your first clue is always the HTTP status code.
Think of the status code as the server's immediate verdict on your request. If you get a 200 OK, you're golden—everything went through perfectly. But what if you see something else? A 401 Unauthorized is a classic. This almost always means there's an issue with your API key. It could be missing, typed incorrectly, or maybe it's expired. My first step is always to double-check my environment variable and make sure the key is an exact match.
Another frequent flyer is the 400 Bad Request. This code tells you the server understood your request but found something wrong with what you sent. Maybe the JSON was structured incorrectly, or you tried to upload an audio format we don't support. The good news is the API's response body usually gives you a specific error message that will point you right to the problem.
For those times when the status code isn't enough, cURL has some incredibly useful flags to show you the entire conversation between your machine and our server. Adding -v (verbose) or -i (include headers) to your command can reveal exactly what's going on.
For example, if you see a
400status code and aContent-Type: application/jsonheader, you know there's a helpful JSON error message waiting in the response body. It might be something as clear as{"error": "Invalid audio file format"}.
Finally, if you encounter a 500 Internal Server Error, you can take a breath—the issue isn't on your end. This means our server had an unexpected problem. The best course of action is to wait a few moments and try again. If the problem persists, it's a good idea to check our API status page for any ongoing incidents.
Even with the best documentation, a few questions always pop up when you're digging into a new API. Here are some of the most common things developers ask when using Lemonfox with cURL, along with straightforward answers to get you moving again.
You've got options. The STT API is designed to handle the most common audio formats out there, including MP3, WAV, FLAC, M4A, and OGG.
From my experience, if you're chasing the highest possible transcription accuracy, you can't beat a lossless format. Stick with FLAC or WAV recorded at a sample rate of 16kHz or higher. Just make sure your file extension matches the actual encoding when you build your cURL request.
This one is all about geography and data privacy.
If your users are in the European Union, you'll want to use the EU-specific endpoint (api.eu.lemonfox.ai). This keeps all data processing within the EU, which is essential for GDPR compliance. For everyone else, the global endpoint (api.lemonfox.ai) is your best bet for the fastest network response. The APIs themselves work exactly the same on both.
The key thing to remember is that you're in control. Choosing the right endpoint upfront is a simple but powerful way to optimize for speed and respect regional data laws, with no extra coding required.
Definitely. In fact, cURL is fantastic for this kind of automation.
It's pretty simple to wrap your cURL command in a basic shell script (like Bash) that iterates over a directory of audio files. This is a super effective way to handle batch transcription jobs without needing a complex setup. For general information on various AI service providers that might offer APIs, you can explore resources such as the wikio.ai homepage.
Ready to start building? Sign up with Lemonfox.ai today and get 30 free hours to test our powerful and affordable Speech-to-Text and Text-to-Speech APIs. https://www.lemonfox.ai