First month for free!
Get started
Published 1/22/2026
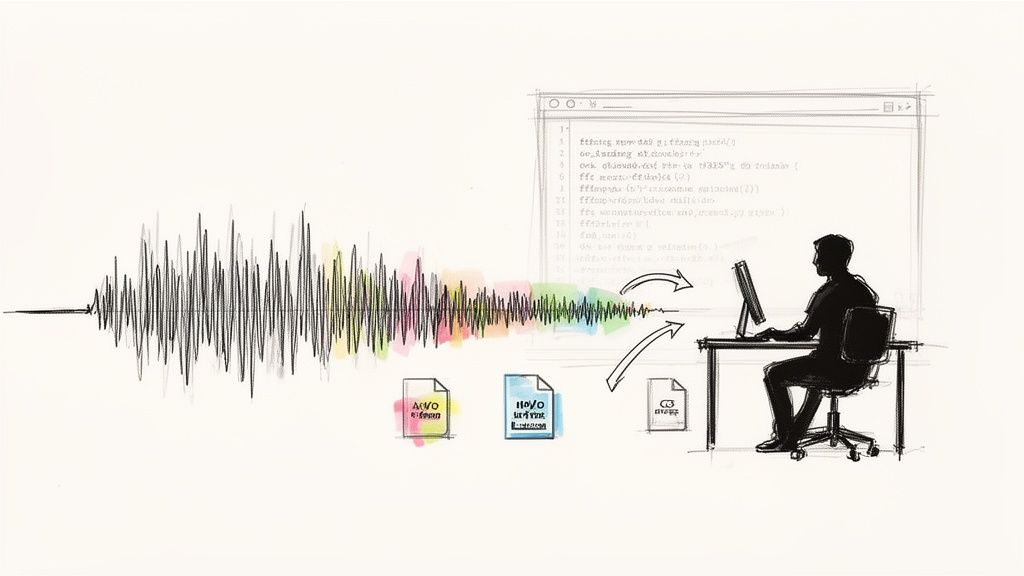
When you're working with audio, especially for speech-to-text applications, file size isn't just a technical detail—it's a critical factor that hits your wallet and your app's performance. Getting a handle on audio compression by choosing the right codecs (like MP3, AAC, or Opus), dialing down the bitrate, and switching from stereo to mono can make a world of difference. These aren't just minor tweaks; they're essential optimizations that directly slash storage costs, speed up uploads, and cut down API processing time.
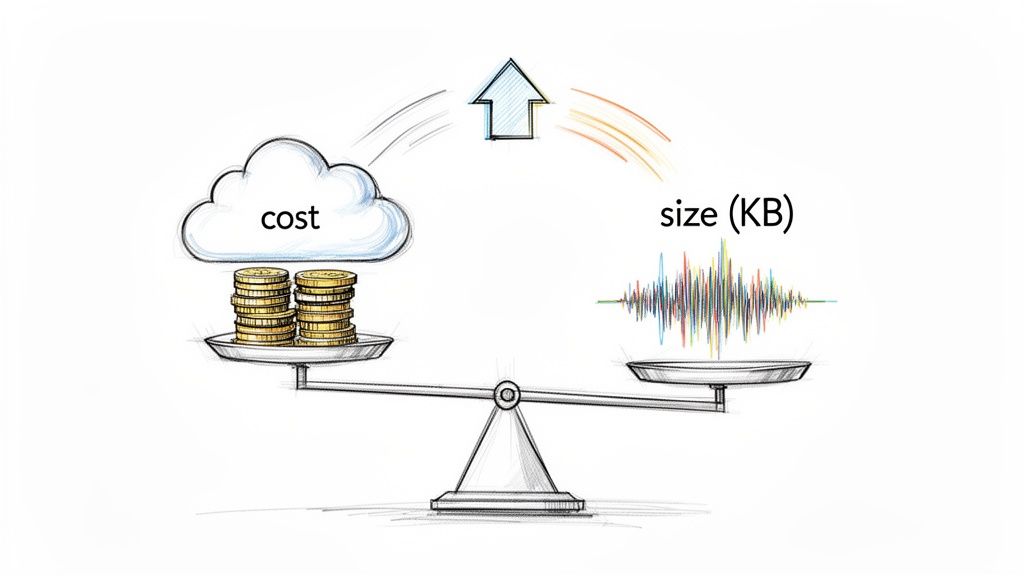
Bulky audio files are more than just a storage headache. For a developer, they represent a direct drain on your budget, a drag on your application's speed, and a potential frustration for your users. While saving disk space is nice, the real impact is a game of millimeters that quickly adds up to miles. Every single kilobyte you trim translates into tangible wins.
Imagine a startup that processes thousands of customer support calls every day. Even short calls add up fast. If you can shrink the file size of those recordings, you'll see a powerful ripple effect:
At the heart of audio optimization is compression. This isn't just some abstract concept; it's a strategic choice you have to make. You're constantly walking a tightrope between file size and audio quality, and it all starts with understanding the two fundamental approaches.
Lossless compression (think FLAC or ALAC) is like a vacuum-sealed bag for your audio. It squeezes the data into a smaller space without throwing anything away. When you "unzip" it, you get a perfect, bit-for-bit copy of the original. This is fantastic for music production or archival purposes where every detail counts.
Lossy compression (the world of MP3 and AAC), on the other hand, makes an intelligent sacrifice. It permanently discards audio information that the human ear is least likely to notice. It's like a skilled editor cutting out the "unnecessary" bits to make the story punchier and more compact.
For the vast majority of development scenarios, especially anything involving speech-to-text, lossy compression is the clear winner. You can achieve massive file size reductions—often up to 90% smaller than uncompressed WAV files—while keeping the speech perfectly clear for accurate transcription.
Your goal is to find that sweet spot where the file is as lean as possible without hurting its core purpose. A high-fidelity music app will always lean toward quality. But for transcribing a business meeting or a customer call, the priorities are different. You don’t need pristine, concert-hall audio; you need speech that is clear and intelligible.
This is where smart optimization comes into play. By picking the right lossy codec and fine-tuning the settings, you can dramatically lower your operational costs and boost performance. Every byte you shave off builds a more efficient, cost-effective, and responsive application, all while ensuring services like Lemonfox.ai have exactly what they need to deliver accurate results.
Picking the right audio codec is your first, and arguably most important, move when you need to shrink an audio file. Think of a codec as the language used to package sound data. Some are built for universal understanding, others are designed for incredible efficiency, and a few are specialized for the speed of live conversation. This choice directly impacts everything from your storage bills and user experience to how well a speech-to-text API can understand the content.
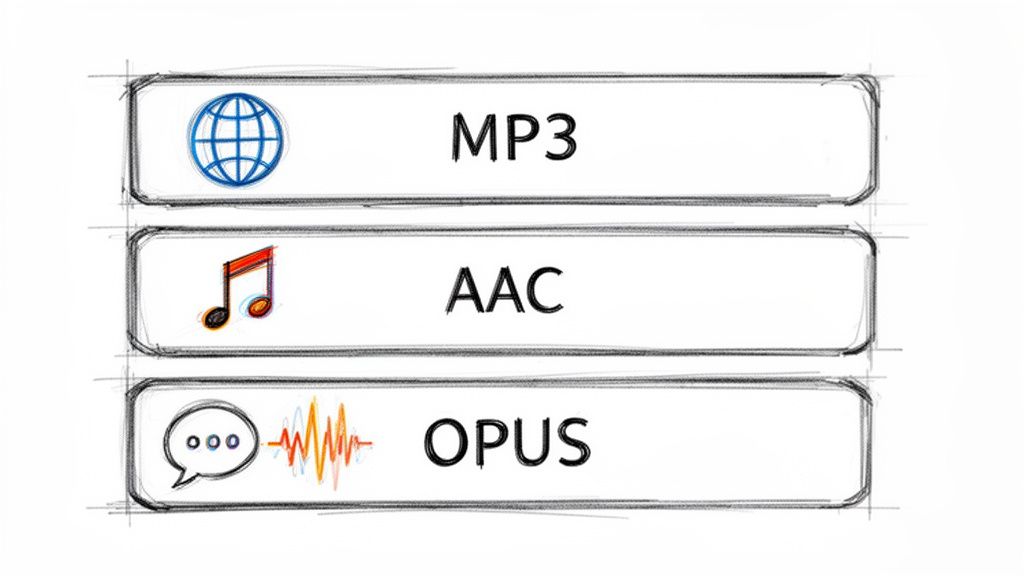
We're going to zero in on the three lossy codecs you'll bump into most often: MP3, AAC, and Opus. Forget the dense technical papers; let's look at this from a practical, real-world perspective. The goal here is to make a smart trade-off between quality, file size, and compatibility for whatever you're building.
When you’re not sure what to use, MP3 is almost always the safe play. Its superpower isn't its compression technology—it's the fact that it just works, everywhere. For more than two decades, every browser, phone, and piece of software has known how to handle an MP3. That reliability is priceless when your audio needs to reach the widest possible audience.
The MP3 format really kicked off the digital audio revolution in the 90s. Its whole purpose was to make audio files small enough for the internet of the time, and it achieved this by using psychoacoustic models to toss out sounds the human ear can't perceive anyway. This clever approach to lossy compression can slash file sizes down to just 10% of the original, a breakthrough that made digital music practical. If you're curious about the deep history, there's an excellent breakdown on audio compression worth reading.
This legacy makes MP3 the default for podcasts, simple audio notifications, and any other situation where you can’t make assumptions about the end-user's device. For transcription purposes, a decently encoded MP3 is more than enough to capture clear, understandable speech.
Advanced Audio Coding (AAC) is widely considered the true successor to MP3, and for good reason. It consistently delivers better audio quality than MP3 at the same bitrate. This gives you a powerful choice: either get a smaller file than an MP3 with the same perceived quality, or keep the file size the same and get a noticeable bump in clarity.
This efficiency advantage makes AAC the go-to for:
While not quite as universally supported as its older cousin, AAC playback is standard on virtually all modern hardware and software. Unless you have a specific need to support ancient devices, AAC is almost always the technically superior choice for balancing file size and quality.
Opus is the new kid on the block, engineered from the ground up for interactive, real-time audio. As an open-source and royalty-free codec, it has quickly become the undisputed champion for VoIP, video conferencing, and in-game chat. Its key advantage is incredibly low latency.
What truly sets Opus apart, though, is its sheer adaptability. It can instantly adjust its bitrate to handle fluctuating network conditions, keeping a conversation smooth even on a terrible connection. For voice, it can compress audio to astonishingly low bitrates—as low as 6 kbps—while keeping speech perfectly intelligible. This is a game-changer for any application where bandwidth is at a premium.
If your project involves any kind of live voice communication, Opus should be your default choice. And while it shines in real-time streaming, it's also an extremely efficient format for storing recorded voice memos or short audio messages where every kilobyte counts.
To help you decide at a glance, here’s a quick comparison of how these codecs stack up for development-focused tasks.
| Codec | Typical Bitrate Range (for speech) | Best For | Key Advantage |
|---|---|---|---|
| MP3 | 64-128 kbps | Podcasts, background audio, max compatibility | Works on virtually any device or browser, new or old. |
| AAC | 48-96 kbps | Streaming, mobile apps, high-quality archives | Better quality-to-size ratio than MP3. |
| Opus | 8-48 kbps | VoIP, real-time chat, voice messages | Extremely low latency and excellent error resilience. |
Ultimately, choosing the right codec is your first big win in reducing audio file size. For maximum reach, MP3 is your workhorse. For a modern balance of quality and size, go with AAC. And for anything involving live voice, Opus is in a class of its own.
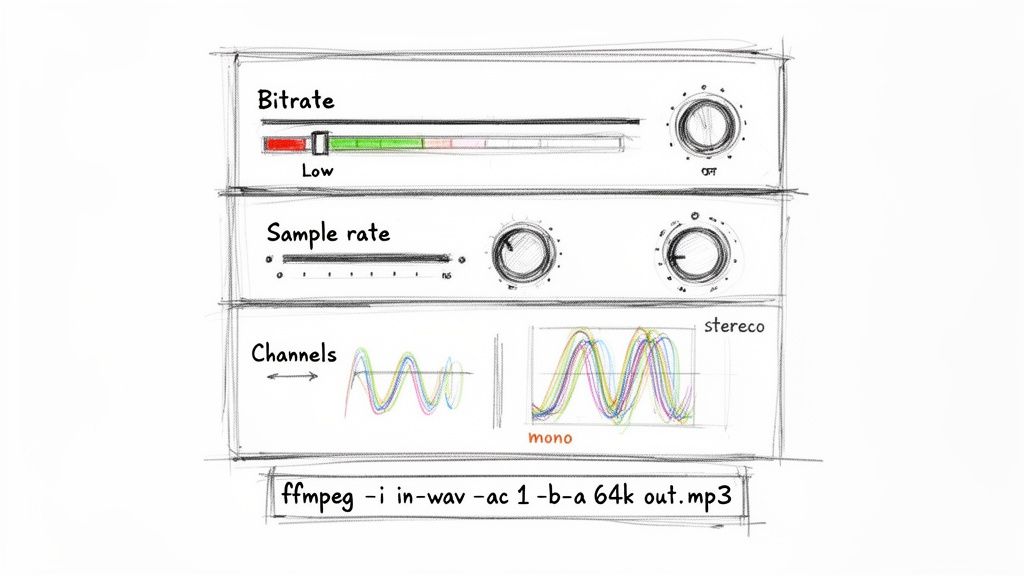
Once you've picked a codec, your next move is to get your hands dirty with the core settings: bitrate, sample rate, and audio channels. These are the technical levers that directly control the trade-off between audio quality and file size. Mastering them is the real secret to creating lean, efficient audio files without losing the clarity you need.
I like to think of an audio file as a digital painting. The sample rate is how many dots of paint you use per second, the bitrate determines the richness of your color palette, and the channels decide if you're painting on one canvas (mono) or two (stereo). For something like speech-to-text, you don't need a gallery-worthy masterpiece—you just need a clear, functional sketch.
Bitrate, measured in kilobits per second (kbps), is all about data density. A higher bitrate means more data is used to represent each second of audio, which translates to higher fidelity and, you guessed it, a bigger file. For music, you'll often see bitrates like 192 kbps or even 320 kbps to preserve the complex textures of different instruments.
Human speech, however, is a much simpler beast. All the crucial information is packed into a surprisingly narrow frequency band. This is fantastic news for us because it means we can slash the bitrate for voice recordings without making the words unintelligible.
For most speech-to-text jobs, like transcribing meetings or analyzing support calls, a bitrate between 64 kbps and 96 kbps is the sweet spot. Just by dropping from a common default of 192 kbps down to 64 kbps, you can shrink your file size by over 65% with virtually no hit to transcription accuracy.
It's also worth remembering that some codecs are more efficient than others. For example, AAC (Advanced Audio Coding) was specifically designed to be a better, more efficient successor to MP3. Studies have shown that AAC files can sound significantly better than MP3s at the same bitrate, often requiring less than 1 MB per minute. It's the standard for Apple Music and Android for a reason and a solid choice when you need to balance quality and size. You can read more about the evolution of audio formats on Hypebot for a deeper dive.
Next up is the sample rate, measured in Hertz (Hz). This number tells you how many "snapshots" of the audio signal are taken every second. The standard for CD-quality audio is 44,100 Hz (or 44.1 kHz), a rate chosen to capture frequencies all the way up to the limits of human hearing (around 20 kHz).
But just like with bitrate, that’s usually overkill for voice. The most critical frequencies for understanding speech fall well below 8,000 Hz. Because of this, a sample rate of 16,000 Hz (16 kHz) has become the gold standard for speech recognition. It captures all the vocal data an API needs to do its job while ditching the unnecessary high-frequency information that just inflates your file size.
A common mistake I see is people assuming a higher sample rate automatically leads to better transcription. For human speech, anything above 16 kHz gives you zero accuracy benefits and only bloats your file. Stick with 16 kHz—it's one of the easiest and most effective optimizations you can make.
This one is perhaps the simplest yet most impactful change you can make. Audio channels define how many separate audio streams are in your file. Stereo gives you two channels (left and right) to create an immersive, spatial soundscape. It's great for music but totally pointless for most voice recordings.
Think about a conference call or a podcast interview. Is there really any "left" or "right" information that adds value? Nope. The audio is essentially coming from a single source.
By converting a stereo file to mono (a single channel), you are literally throwing away half the data without losing a shred of important information. This one move instantly cuts your file size in half. If you're processing voice recordings at any kind of scale, converting to mono should be a non-negotiable step in your workflow.
Knowing the theory is great, but putting it into practice is what counts. For this, FFmpeg is your best friend. It’s a powerful, free command-line tool that’s like a Swiss Army knife for anyone working with media files.
Let’s say you have a big stereo WAV file from a meeting, meeting_original.wav, and you want to shrink it down into a lean, transcription-ready MP3.
Fire up your terminal and run this exact command:
ffmpeg -i meeting_original.wav -ac 1 -ar 16000 -b:a 64k meeting_optimized.mp3
Here’s a quick breakdown of what that command is doing:
-i meeting_original.wav: Specifies your input file.-ac 1: The magic flag. This tells FFmpeg to convert the audio to a single channel (mono).-ar 16000: Sets the audio sample rate to 16,000 Hz.-b:a 64k: Sets the audio bitrate to 64 kbps.meeting_optimized.mp3: The name of your new, much smaller output file.With that one line, you've combined all three optimizations—mono channel, 16 kHz sample rate, and 64 kbps bitrate—to massively reduce your audio file's size while keeping everything needed for a high-quality transcription. This is exactly the kind of practical, automatable step that saves serious money and boosts performance when working at scale.
Simple re-encoding will get you pretty far, but to really shrink those audio files, you need to start thinking like an audio editor. This means programmatically cleaning up the audio to strip out everything that isn't essential speech. These advanced tricks not only make your files smaller but can also give a surprising boost to the accuracy and speed of transcription APIs.
We're going to focus on three powerful edits you can automate: trimming dead air from the start and end, zapping long pauses from the middle of a recording, and normalizing the volume. The best part? We can automate all of it with a command-line tool called FFmpeg, turning a tedious manual chore into a simple, repeatable step in your workflow.
One of the easiest wins for reducing file size is simply making the audio shorter. Think about it—so many recordings, from customer service calls to podcast interviews, are full of dead air. You might have a few seconds of silence before anyone starts talking or those long, thoughtful pauses between sentences.
While those gaps are totally normal in a conversation, they're just dead weight from a transcription perspective. Getting rid of them pays off in two big ways:
FFmpeg has a fantastic audio filter called silenceremove that makes this almost effortless. It intelligently detects and snips out silence based on rules you set.
Let's say you have a file named interview.mp3 with some silence at the beginning and a few long pauses. This command will create a new, tightened-up version:
ffmpeg -i interview.mp3 -af silenceremove=start_periods=1:start_duration=1:start_threshold=-50dB,areverse,silenceremove=start_periods=1:start_duration=1:start_threshold=-50dB,areverse output_trimmed.mp3
I know, it looks a bit intimidating, but it's pulling off a clever two-pass trick. First, it removes silence from the start. Then, it reverses the entire audio clip, removes the silence from the new start (which was the original end), and flips it back. This is a slick way to trim dead air from both ends of the file in one go.
Have you ever listened to a recording where one speaker is booming and the next is barely a whisper? That huge swing in volume, what pros call a wide dynamic range, can really trip up speech-to-text engines. If the audio levels are all over the place, the API might struggle to catch what the quieter person is saying.
This is where audio normalization comes in. It’s the process of adjusting the recording's overall volume to a consistent, standard level. It doesn't squash the loud and quiet parts together like a compressor; instead, it just raises or lowers the entire file's volume so the peaks hit a target level. This makes sure all the speech is clear and easy for a machine to process.
A well-normalized audio file is a gift to any transcription API. It provides a clean, predictable signal that helps the model focus on recognizing words instead of struggling with fluctuating volume levels. This simple preprocessing step can lead to a noticeable improvement in transcription accuracy.
For this job, FFmpeg has the perfect tool: the loudnorm filter. It’s smart, using a two-pass analysis to normalize the audio without causing nasty distortion or clipping.
Here’s a practical example of how to normalize input.wav to a standard listening level:
ffmpeg -i input.wav -af loudnorm output_normalized.wav
By default, loudnorm aims for an Integrated Loudness of -14 LUFS (Loudness Units Full Scale), which is a common standard in broadcasting. Running your files through this command ensures the audio you send to services like Lemonfox.ai is at an optimal, crystal-clear volume.
The real magic happens when you chain these techniques into an automated pipeline. You can write a simple script that takes any raw audio file and runs it through a series of FFmpeg commands, perfectly prepping it for transcription every single time.
A solid pre-processing workflow usually looks something like this:
When you build this kind of pre-processing into your application, you guarantee that every single file you send for transcription is as lean and clean as possible. That’s how you build a truly efficient and cost-effective system for handling audio at scale.
So, you’ve got a handle on codecs, bitrates, and all the technical tweaks. Now it's time to put it all together for a real-world application: sending your audio to a transcription service like Lemonfox.ai. This is where all that optimization really pays off. Getting your audio prepped isn't just about shrinking files; it’s about making the entire process faster, cheaper, and more accurate.
The real goal here is to find that perfect balance. You want your file as small as possible without making the speech sound like it's coming from the bottom of a swimming pool. Overdo the compression, and you'll introduce artifacts that confuse the AI. Underdo it, and you're just wasting bandwidth and money uploading, storing, and processing data you don't need.
This visual gives you a great, at-a-glance workflow to follow before you send any audio out for transcription.
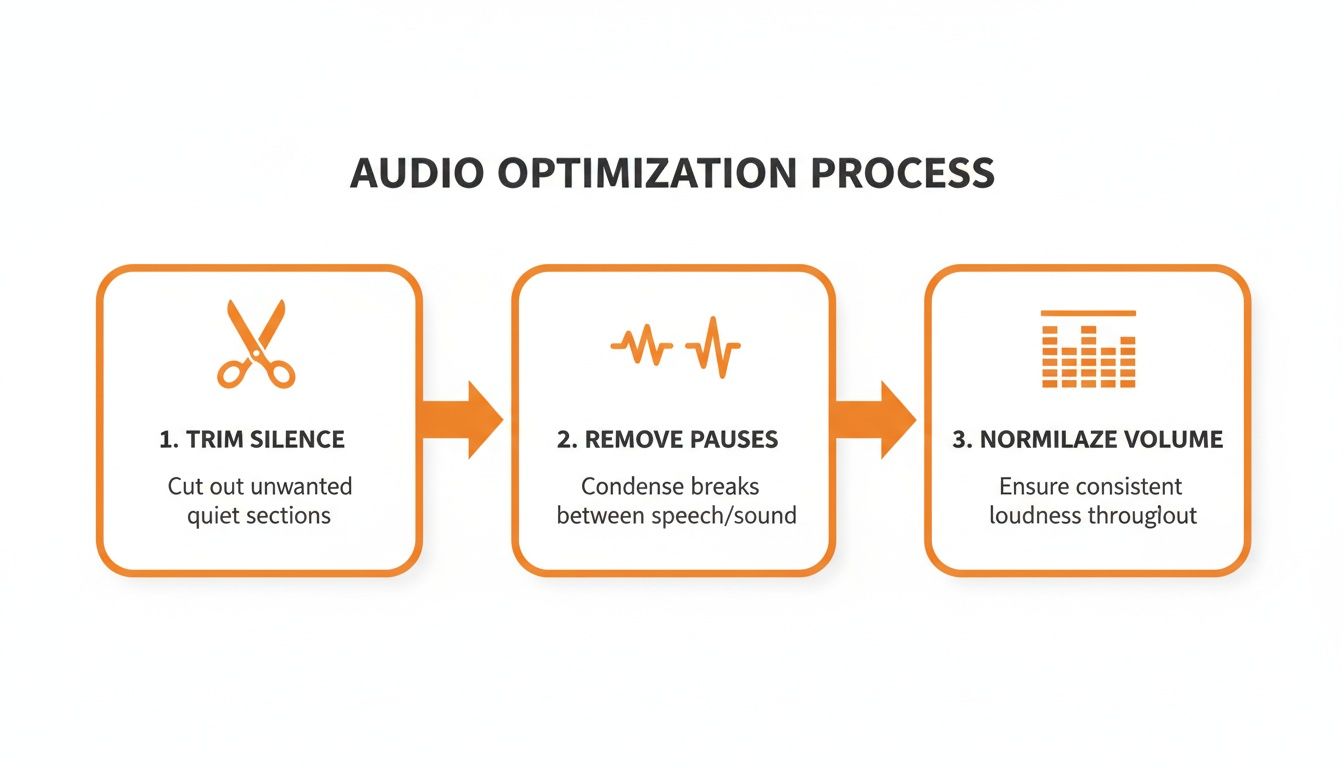
Trimming silence, cutting out long pauses, and normalizing the volume—each of these steps cleans up the audio and sheds unnecessary data, giving you a lean, effective file.
Before you upload your next batch of audio, run through this quick checklist. Think of it as a final quality control step that bundles all the techniques we've talked about into a simple, effective workflow.
The right compression strategy isn't just a technical detail; it translates to serious cost savings. Depending on your approach, you can see huge reductions in storage needs. One analysis showed file size reductions ranging from 6.6% (for an MP3 at 96 kbps) all the way to a massive 72.6% (using a 32,000 Hz WAV format). It just goes to show how much your choices matter. The bitrate, in particular, has a direct effect on both file size and the acoustic details needed for a good transcript. You can read more about these compression findings to see the data for yourself.
Imagine an organization that processes 1,000 hours of audio every single day. That 72.6% reduction would slash their daily storage needs from 1,000 GB down to just 274 GB. Over a month, that’s a savings of nearly 22 TB. That’s a big deal.
A common worry is that you'll shrink your audio file so much that the transcription quality takes a nosedive. It's a valid concern, but one that's easy to manage. The trick is to avoid pushing the compression so far that you introduce audible artifacts—that garbled, "underwater" sound that makes speech hard to understand.
The sweet spot for transcription is audio that sounds clean and natural to a human ear. If you can easily understand every word without straining, the AI model almost certainly can, too. The settings on our checklist are designed to keep you firmly in that safe, high-accuracy zone.
When you're using a service like Lemonfox.ai that's built for efficiency, sending a properly optimized file means you get faster results and lower costs. By taking just a few minutes to prep your audio, you're setting yourself up for a smoother, cheaper, and more accurate transcription workflow from the get-go.
When you're trying to shrink audio files, especially for something as sensitive as speech-to-text, a few questions always pop up. It's all about finding that perfect balance between file size, cost, and the quality you actually need. Let's dig into the common things people ask when they're getting started.
There’s no magic number here—the right bitrate is all about context. If you were mastering a music track, you'd be looking at 192 kbps or even higher to catch every nuance. But for voice, that's just a waste of space and money.
Human speech lives in a much smaller frequency range. For transcription, whether it's customer service calls or team meetings, a bitrate between 64 kbps and 96 kbps is your sweet spot. This slashes the file size but keeps the speech crystal clear for any AI model to understand.
I see this all the time: people assume a higher bitrate automatically means better transcription accuracy. The truth is, a clean 64 kbps mono MP3 will get you the same result as a bloated 192 kbps file. The difference? The smaller file is way cheaper to store, faster to upload, and quicker for an API to process.
You absolutely can, but there's a catch. This is where lossless compression comes in, with codecs like FLAC leading the pack. It works like a ZIP file for your audio—it packs the data down without throwing anything away. When you un-pack it, you get a perfect, bit-for-bit replica of the original.
So, what's the trade-off? The file size savings are pretty modest. A lossy MP3 can easily shrink a file down to 10% of its original size. A lossless format like FLAC? You’re looking at a 40-50% reduction at best. For archival purposes where every last detail is sacred, FLAC is fantastic. But for most real-world applications like speech-to-text, the massive space savings from lossy codecs like MP3 or AAC just makes more sense.
You’ve gone too far when you can hear artifacts. That’s the technical term for those weird, garbled, or "underwater" sounds that distort the audio. It happens when the bitrate is pushed too low for the source material, often below 32 kbps, making it a nightmare for both people and AI to decipher.
Here’s a simple rule I always follow: trust your ears. If you can play the compressed audio and easily understand what’s being said, the transcription API will have no problem either.
To make sure you don't tank your transcription accuracy, just follow these tips:
Keep these guidelines in mind, and you can confidently slim down your audio files without ever worrying about the accuracy of your transcriptions.
Ready to see how your optimized files perform? With Lemonfox.ai, you can process your lean, efficient audio with one of the most affordable and accurate Speech-To-Text APIs available. Start your free trial today and get 30 hours of transcription on us.